

Composting in a small backyard
3 small-scale methods to divert your organic waste from landfills

If you have a small backyard that’s also a green space, then you’re one of the lucky few! In this article, I introduce 3 composting techniques that work well for small green spaces, so even if all you have is a few square metres, these are worth considering. I won’t talk about the compost bin since it is common.
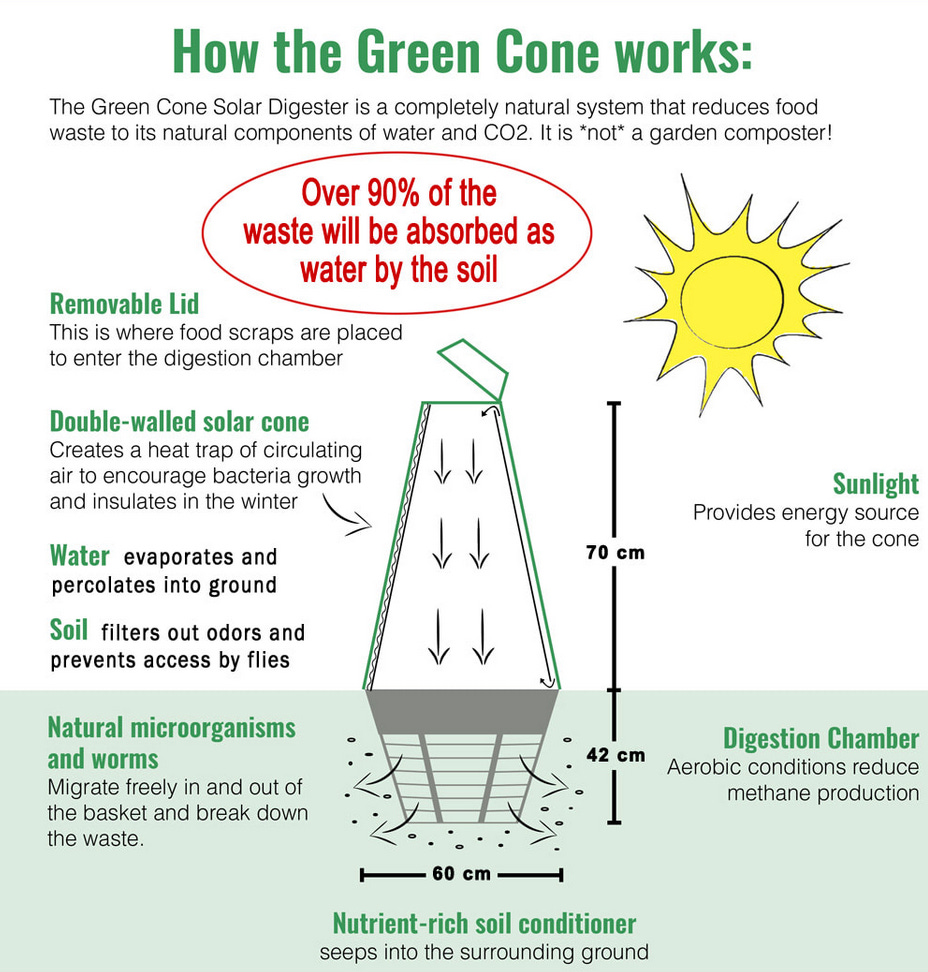
1. Green cone (I recommend making your own)
The green cone is a organic waste digester that is passively powered by solar energy (i.e., the sun). So, instead of converting food waste into compost to be harvested for your garden, the end products are water and carbon dioxide. While there are companies that sell the green cones for hundreds of dollars (or pounds or Euros), you can make your own with a few tools. Check out Zach Ogilvie’s DIY post on the green cone.
A few things to keep in mind:
What can go in: The green cone is a picky eater. Make sure you only add the following in: Fish, red meat, poultry, bones, bread, fruit (including peelings), dairy produce, cooked food scraps, crushed egg shells, small amounts of oil, tea bags, animal excrement
What can’t go in: Metal, wood, plastic, glass, paper, straw, yard waste (grass cuttings, hedge clippings, plant trimmings), a lot of oil, chemicals (disinfectant, bleaches)
Fill only the ‘basket’: Try not to fill above the fill line as that will affect the digesting process, which causes bad smells and leachates.
Don’t put them close to water sources or dig the holes too deep: Since the green cone is a digestor, it’s best to keep away from water sources so as to prevent leachates from entering waterways or groundwater tables before being sufficiently filtered by the soil microbiome.
Don’t use an airtight bucket for your DIY: The green cone requires a small amount of oxygen so that methane is not produced.
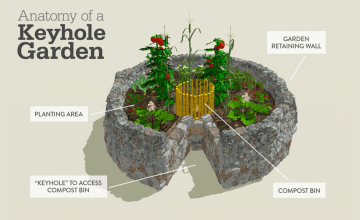
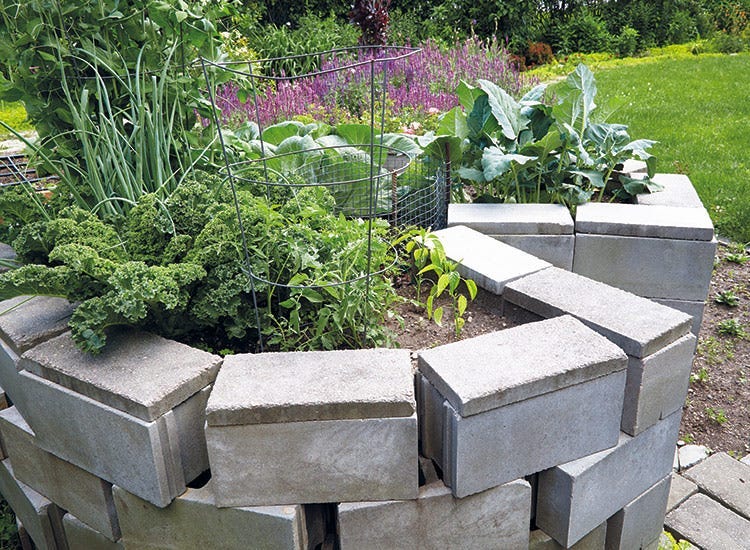
2. Keyhole garden
The keyhole garden may need a little bit more space than the green cone. It’s a technique used in Lesotho, combining composting and gardening to grow healthy, big, chemical-free produce. Use logs, bricks, wood, or other recycled materials to build a garden wall in the shape of a circle, leaving one ‘keyhole’ open to access the compost bin. Use a breathable material like bamboo, chicken wire, or a big bottomless straw basket as the compost bin and place it at the ‘keyhole’.
A few things to keep in mind:
Smells or insects: If the compost starts to draw insects or smell, stir the compost and sprinkle soil over the top, or add a layer of ‘browns’, such as leaves, yard waste, straw, or shredded cardboard or egg cartons to the top.
Harvesting the compost: You may choose to leave the compost to feed the garden or harvest the compost to mix into your garden bed if the compost basket gets too full.
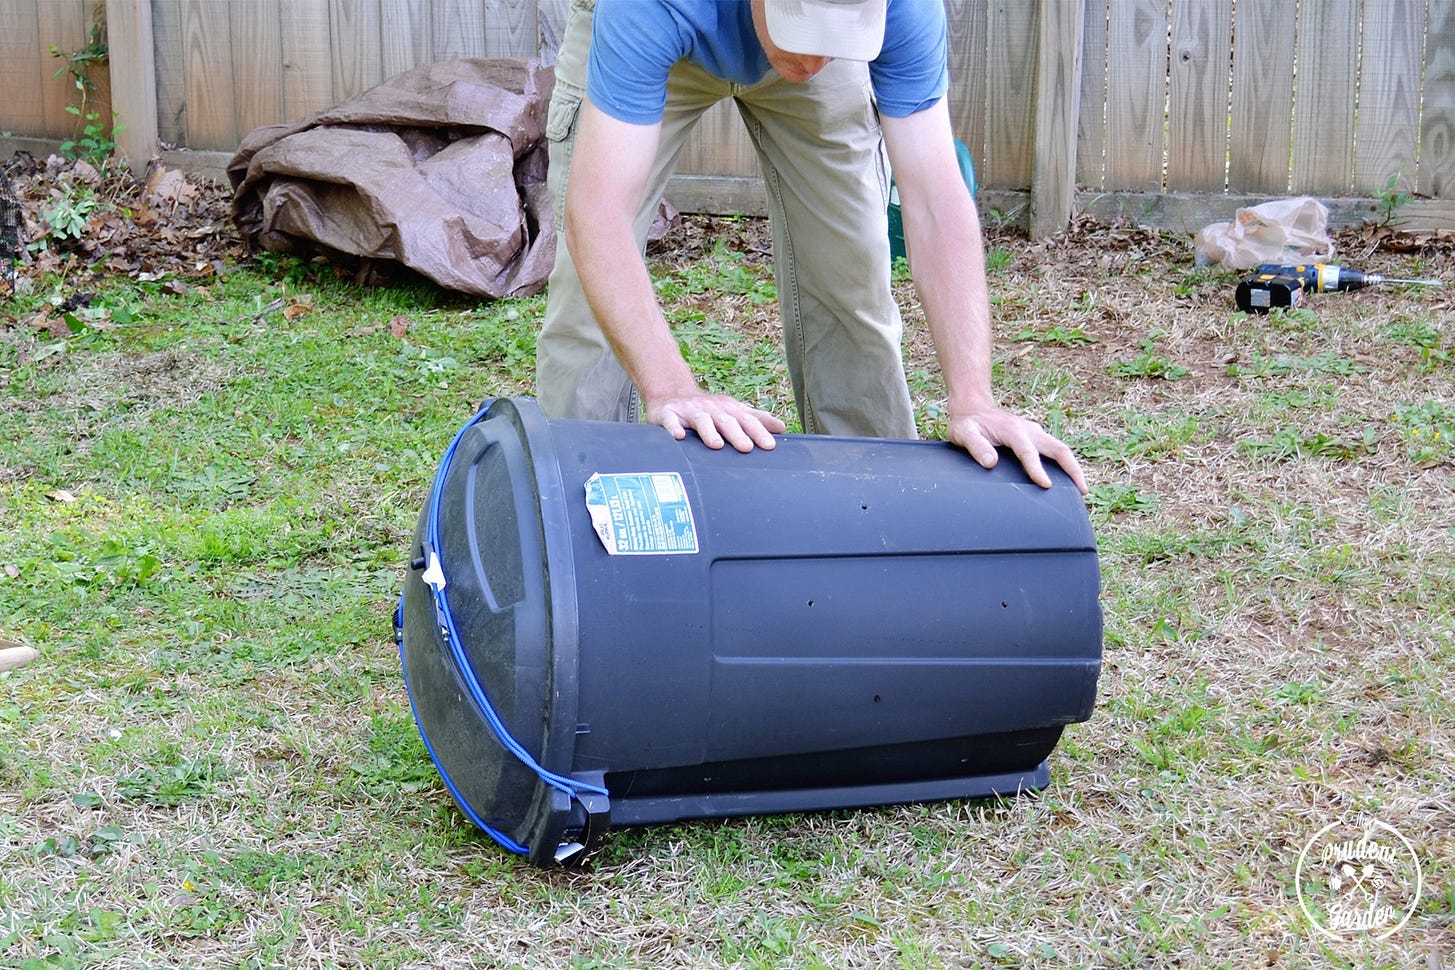
3. Composting tumbler
The composting tumbler replaces the shoveling and compost-pile-turning with rotation by a lever. While different companies sell them at various price points (most of them are expensive, in my opinion), you can also make a tumbler yourself. Here are DIY instructions by Lee Wallender. And another by Mark from The Prudent Garden.
A few things to keep in mind:
What can go in: It’s best to keep meats, bones, oil, and dairy products out of the tumbler as they tend to get smelly.
Add a lot of dry material: From my experience, the contents of composting tumbler tend to get wet as the organic materials break down. So it’s essential to add lots of dried yard clippings, dry leaves, sawdust, shredded cardboard, paper or egg cartons to soak up the moisture.
Difficult to ‘tumble’: As they fill up, they get very heavy to turn, so it’s everyday is arm day. It’s important to turn them once a day because they rely on aerobic decomposition. If they don’t get turned and aerated, the contents will start to smell!